Today’s tutorial is Beginner level photoshop. However, it does assume basic knowledge of the sidebar menu and the layers palette. Ready? Let’s go!
I am a big fan of:
- Quick scrapping
- Big photo’s
Today we will use the Gradient Tool to quickly & easily turn a favorite photo into a finished page.
First, open your favorite paper in photoshop. I am working with the fantabulous Shabby Chic Collection by Ooh La La Scraps. Specifically this is patterned paper 02:
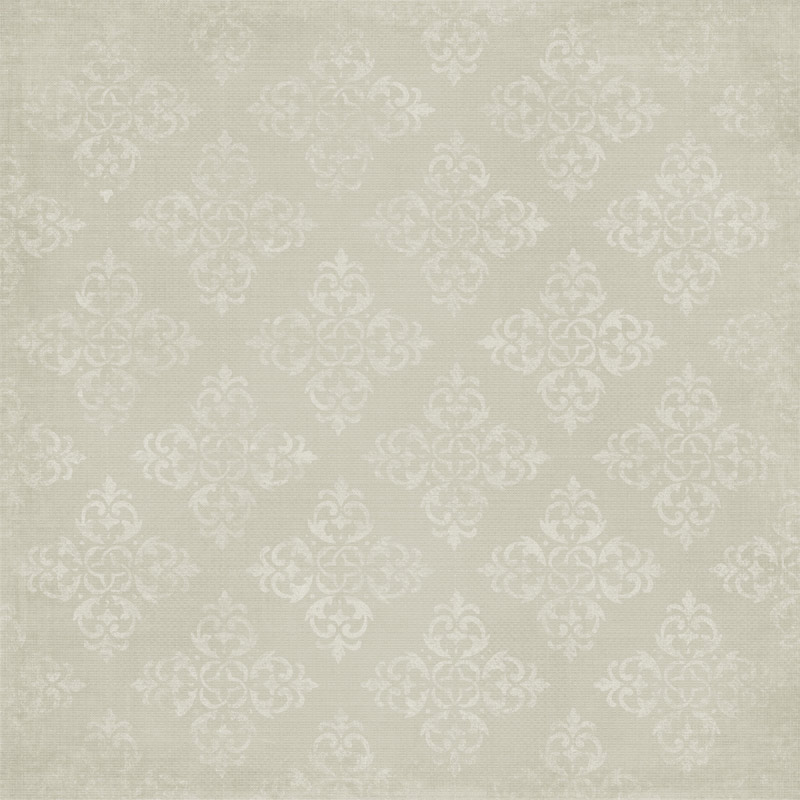
Start with your favorite paper: mine is from Shabby Chic by Ooh La La Scraps
In your Layer Palette, insert a new blank layer directly above your background paper. You can click on the Create New Layer icon or use the Ctrl + Shift + N shortcut .

Add a new, blank, layer above your background paper.
You can access the Gradient Tool in your photoshop sidebar menu by clicking on “G” or simply right-clicking on the Paint Bucket Tool and switching to the Gradient Tool. Set your Gradient to Black & Transparent in the Top Menu Bar:

Gradient Menu Bar
- Go the Top Menu Bar
- Click on the small drop-down arrow on your Edit Gradient Box
- Choose Black & Transparent (one of the default gradients)
- Set Gradient Type to Linear Gradient
- Click & Drag your mouse from left-to-right to fill your blank layer with your Gradient

Using the Gradient Tool fill your blank layer with a black & transparent gradient.
Now add your photo above both the background layer and your new Gradient Layer. I simply dragged & dropped mine from my desktop into my open photoshop window. This is the Tower of Belém or the Tower of St Vincent in Lisbon, Portugal:
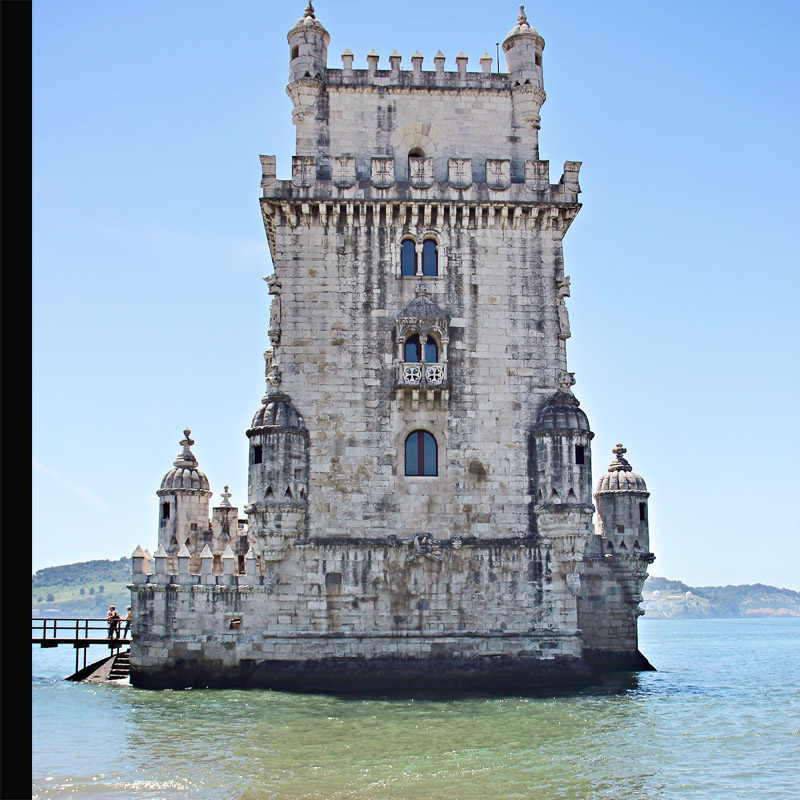
Add your photo above your new gradient layer: this is the Tower of Belém in Lisbon.
To blend your photo with the background paper, simply Create a Clipping Mask in your layer palette, of your photo… remember, be sure your photo is the top layer above your Gradient Layer, for this to work properly:
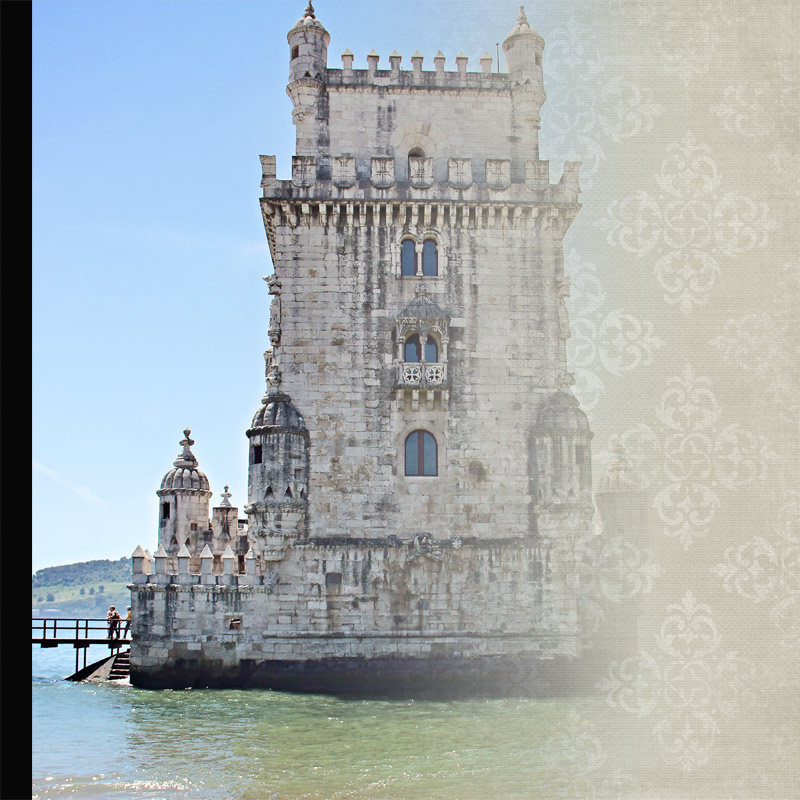
Using “Create Clipping Mask” in your layer palette to clip your photo to your gradient layer.
I added a quick border from Shabby Chic to my page to hide the black space my photo did not cover, and to add a little visual fun.
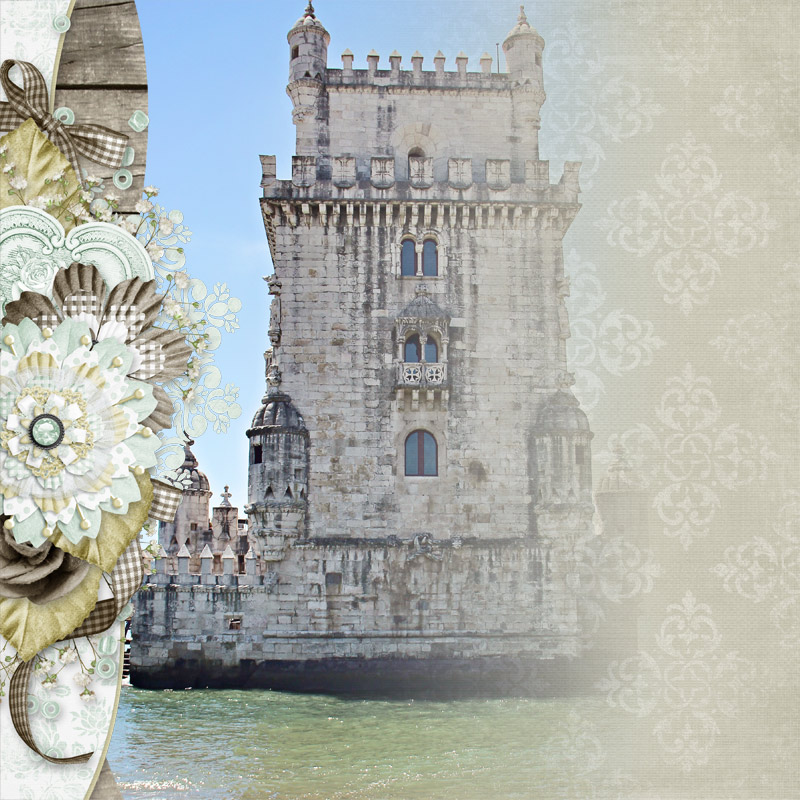
Add a border to quickly create a page. I used Shabby Chic Borders by Ooh La La Scraps.
As a final touch to my page I added a shadow to the border, a Title and sub-Title. I used Shabby Chic Cardboard Styles to match my Title to the rest of my page. I love quick scrapping!

Add shadows, journaling, titling or other elements to finish your layout. I used Shabby Chic Cardboard Styles by Ooh La La Scraps to easily match my title to my layout.
I saved the gradient I created for today’s tutorial as FREE download for you. It’s a PNG file, simply drag&drop on top of any paper to quickly & easily blend your own photo’s!
CLICK TO DOWNLOAD & ENJOY!
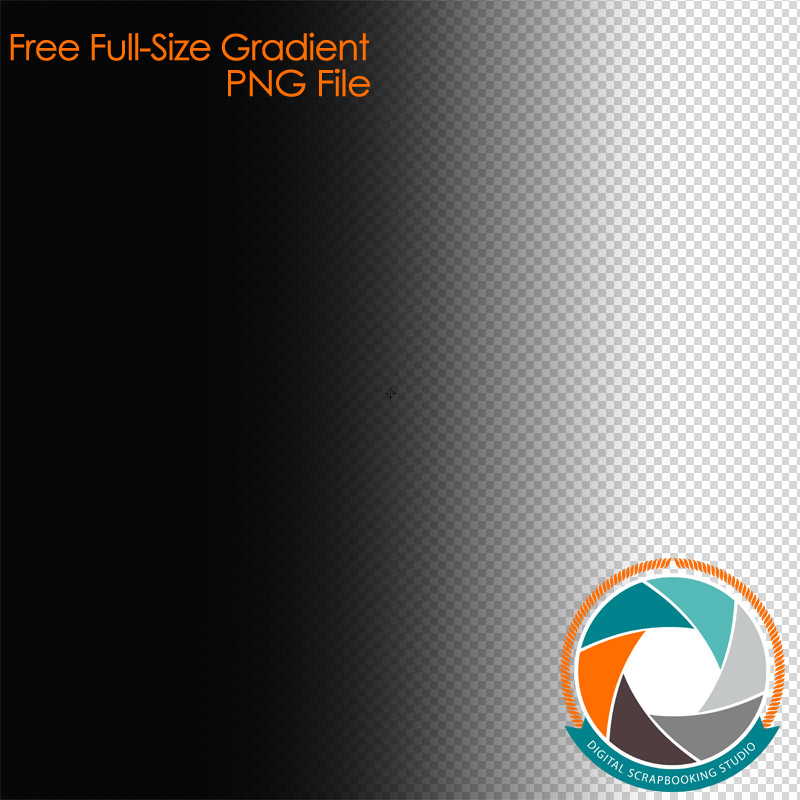
Get this free full-size gradient as a PNG file for your own layouts. Click to download & enjoy.
Thank you 🙂
Thank you for the lesson and the free gradient page!