Let’s have some fun with word art! More specifically, mixing word arts. Or mixing word bits/strips with word art and adding your own words.
You can make your digital scrapbooking pages more attractive when you mix word arts or even mix word bits/strips with word art. Or even mix word strips with your own words. There’s a lot of options in the mix (pun intended!)
What you will learn in this tutorial:
- How to change, cut out part of an existing word strip and add shadow to the new piece.
- Add the word LOVE using layer style.
- Add hand-scripted personal words
- Create a heart shape and add layer style.
Start Here
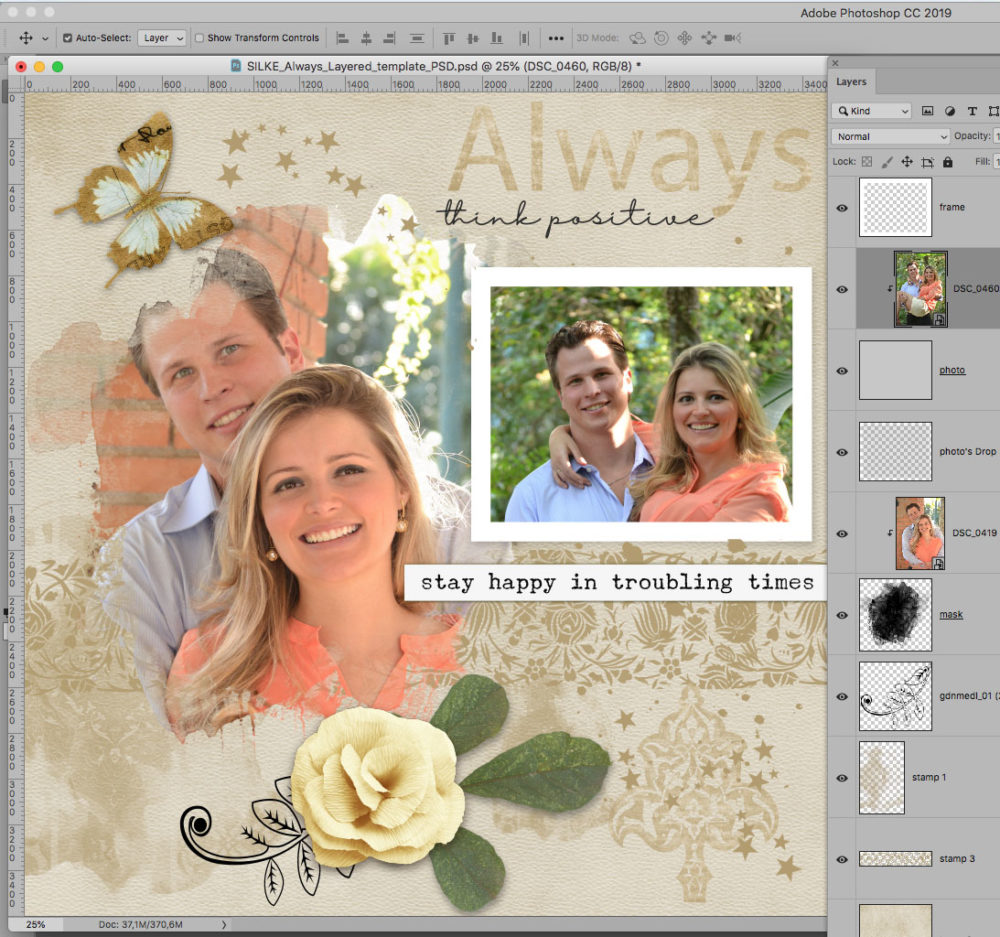
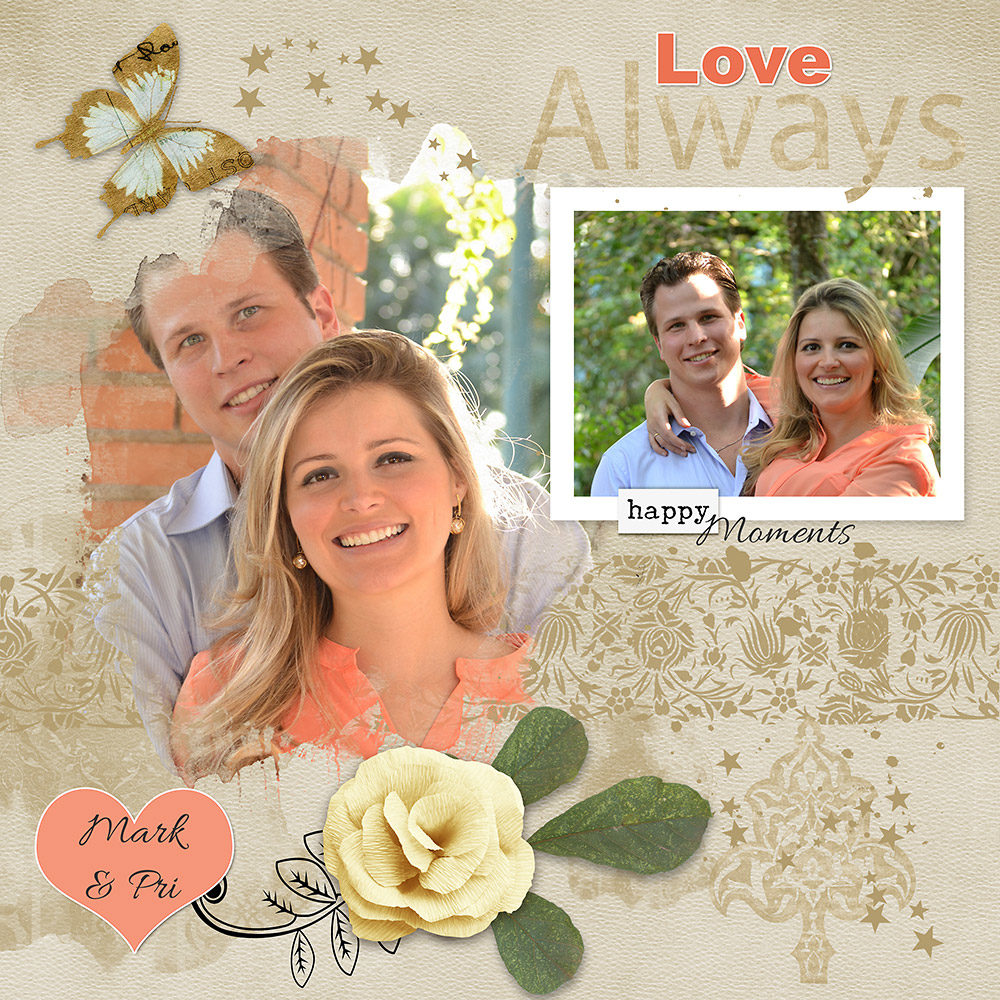
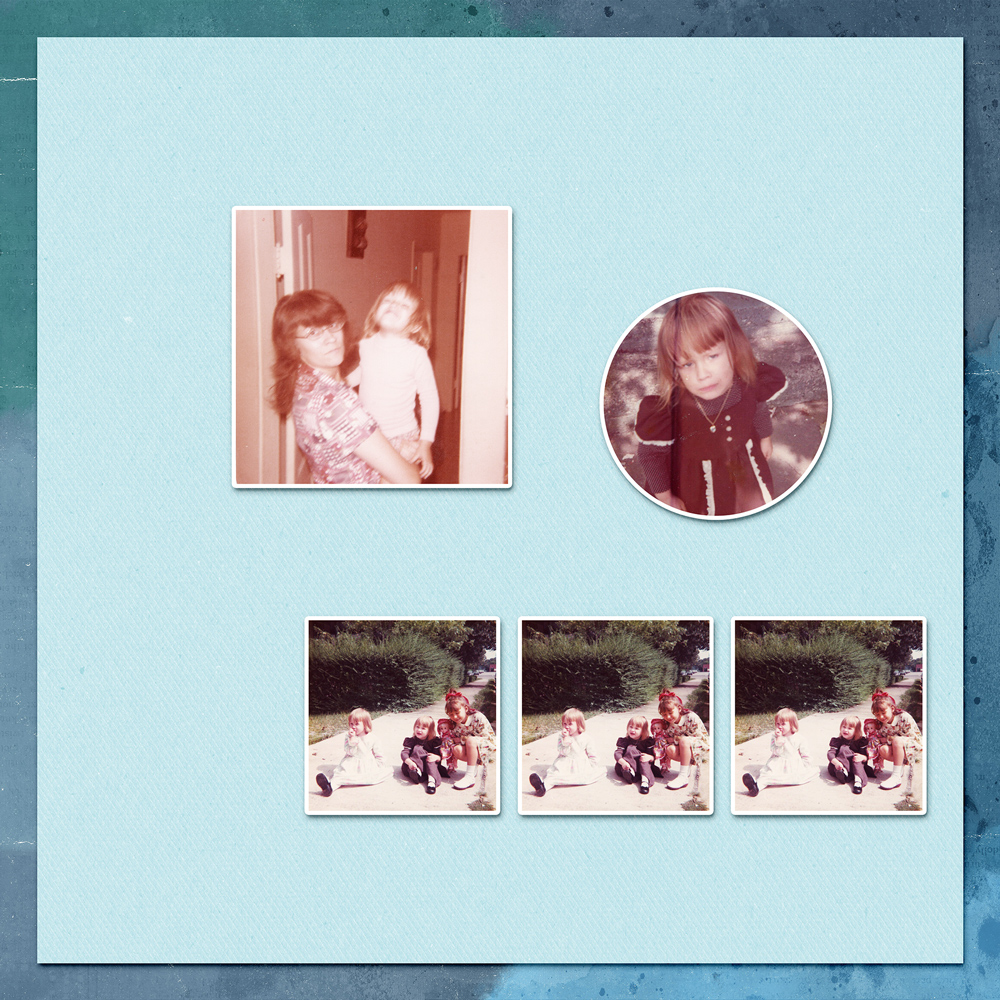
First, create a layout base. In my sample here, I opened the Always Template by PapierStudio here.
Save an additional 20% with my blog exclusive coupon!
Coupon: SILKE20ALWAYS
Expires March 01, 2021
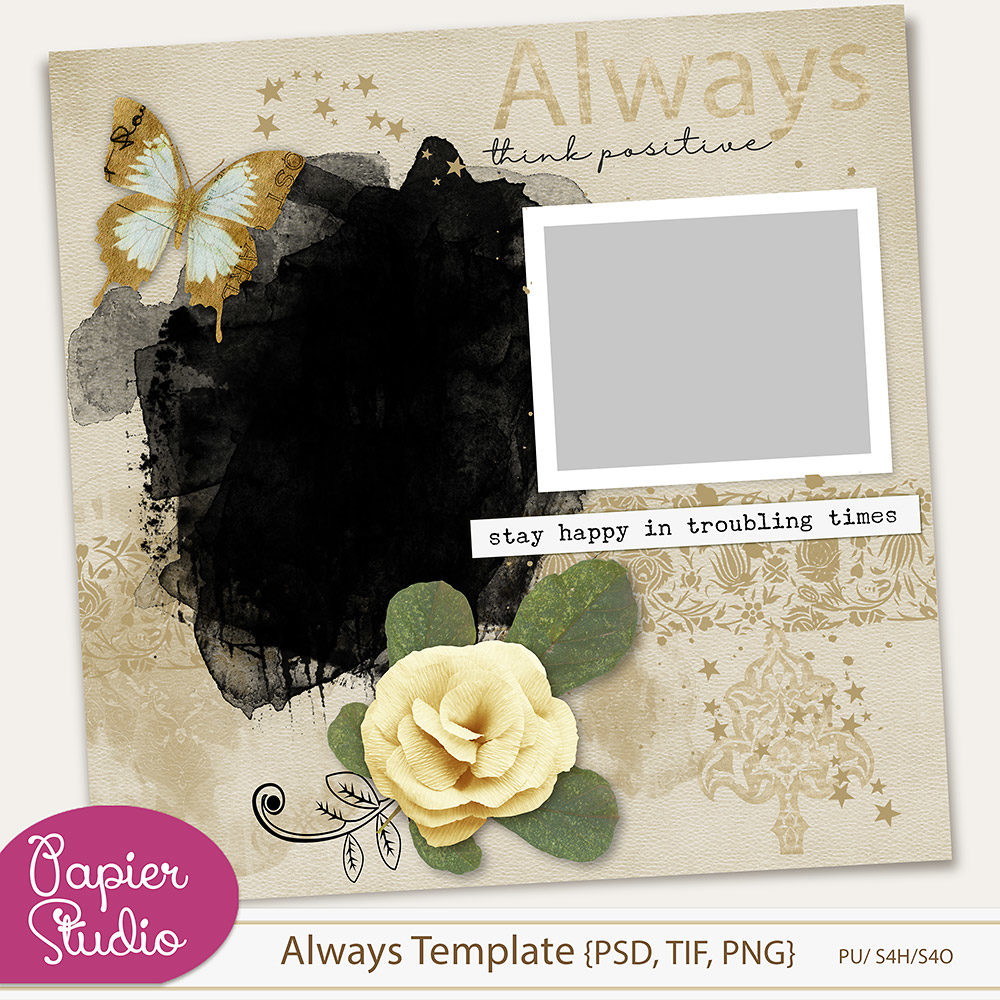
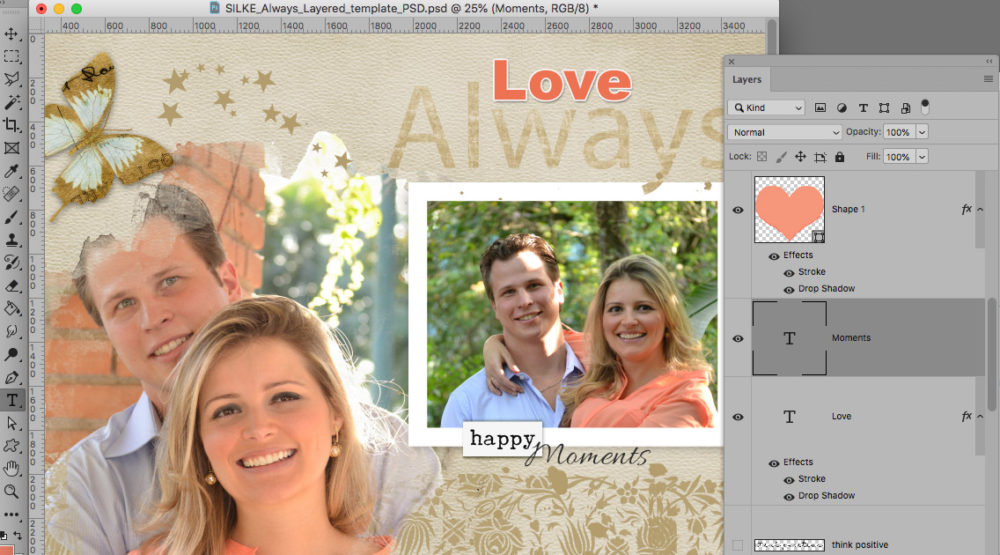
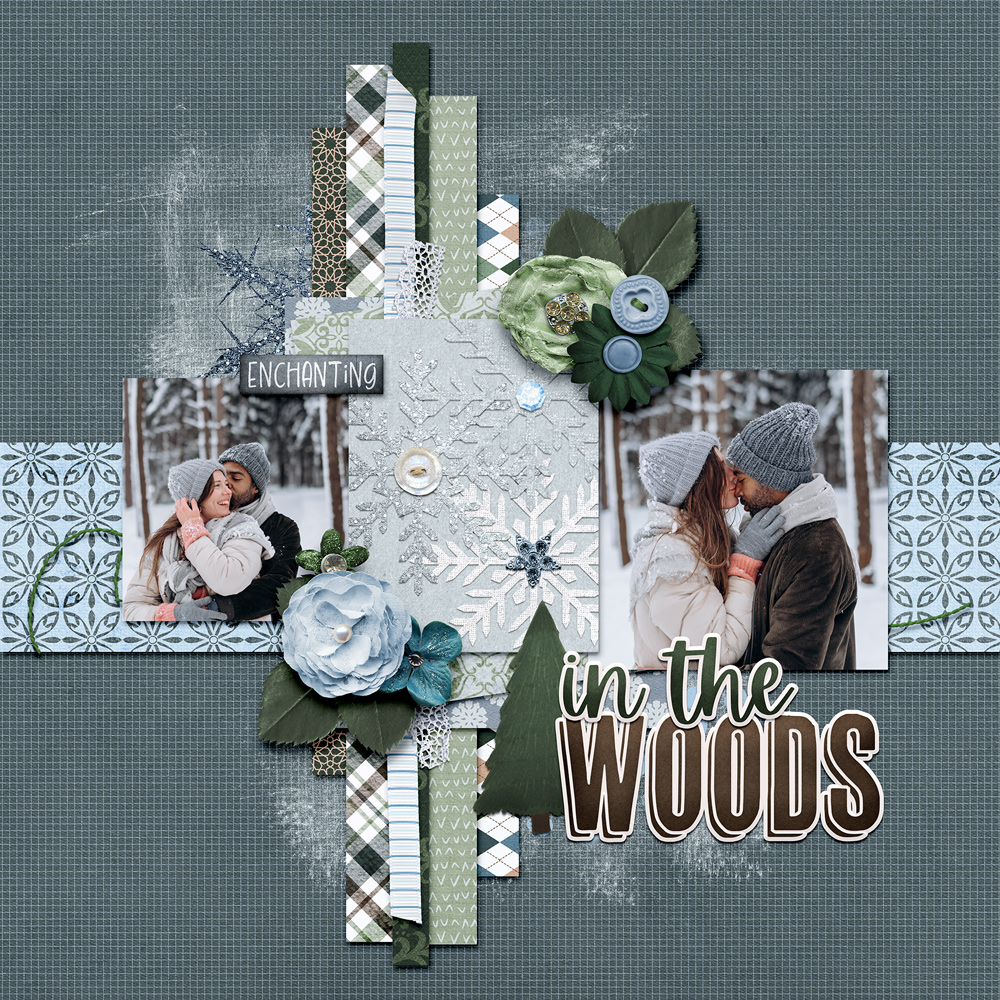
This quick page is adjustable and perfect for my example. I added two personal pictures and clipped these to the mask and photo frame.
Now let’s change and mix the word-arts.
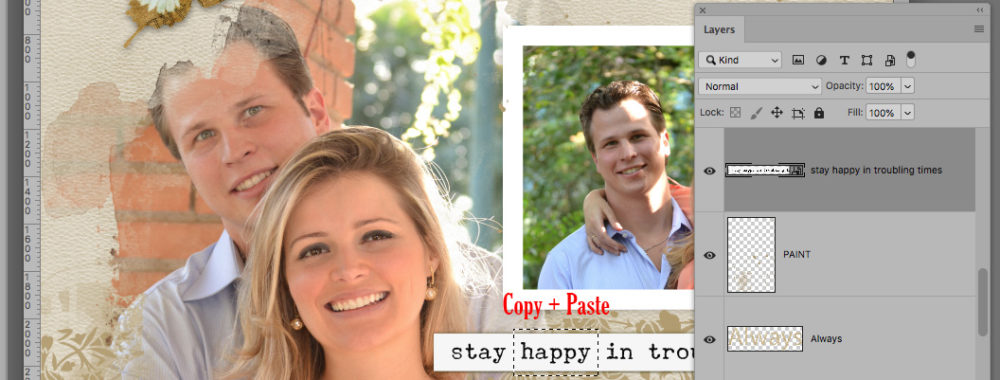
- From the word strip “stay happy in troubling times” copy only the word “happy” by selecting it on this layer.
- Go to Menu > Edit click copy and then click paste.
(shortcuts = Ctrl + C; Ctrl + V) - Now hide the original word strip and change the place for the word “happy”.
- Add a small shadow to the word strip “happy”:
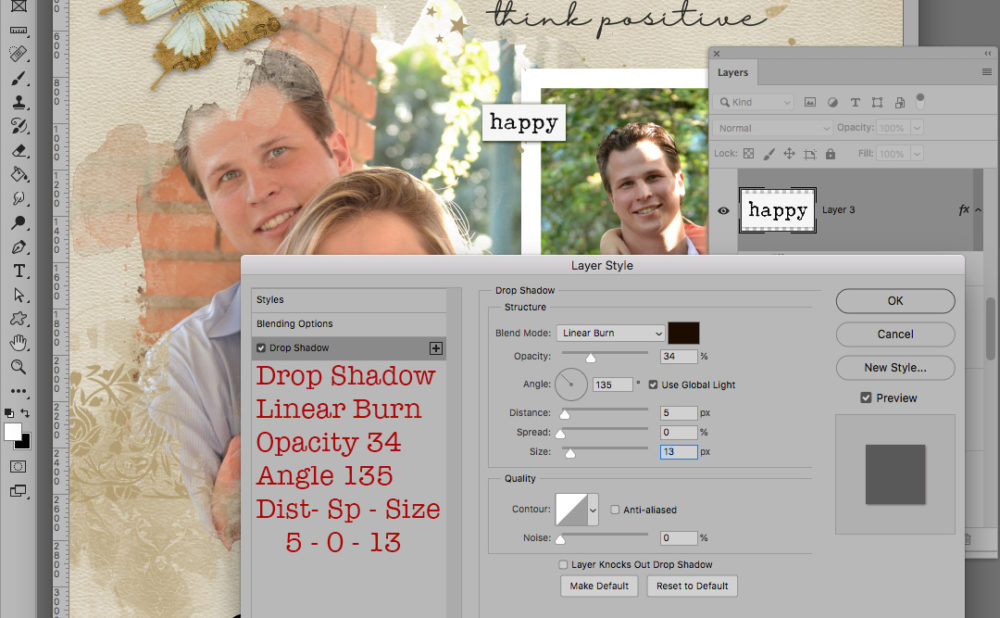
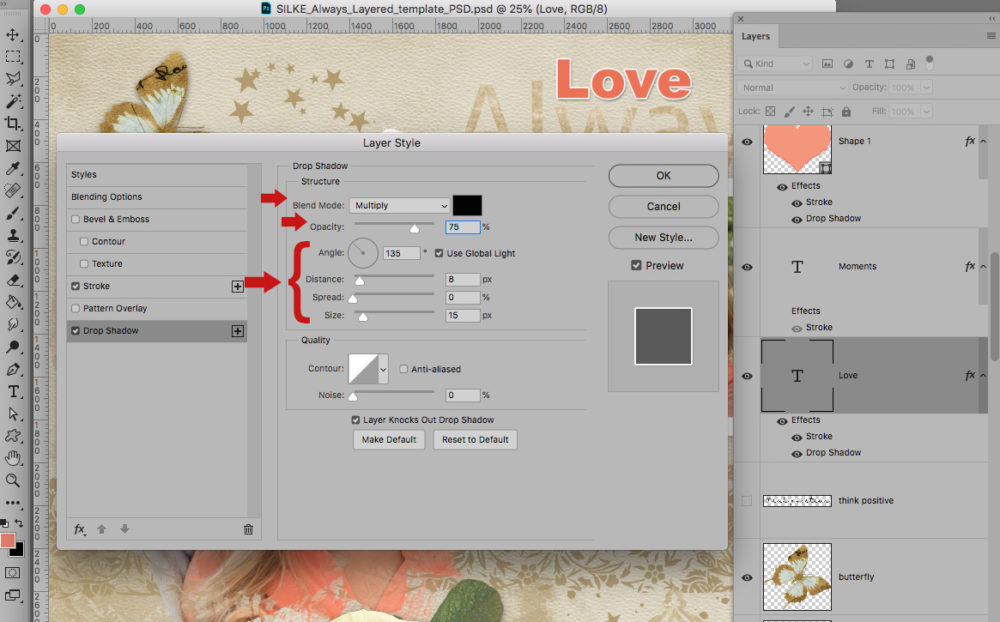
Click on Layer Style (little fx icon) to add the following Drop Shadow to the word strip:
- linear burn
- opacity 34
- angle 135
- distance 5 – spread 0 – size 13
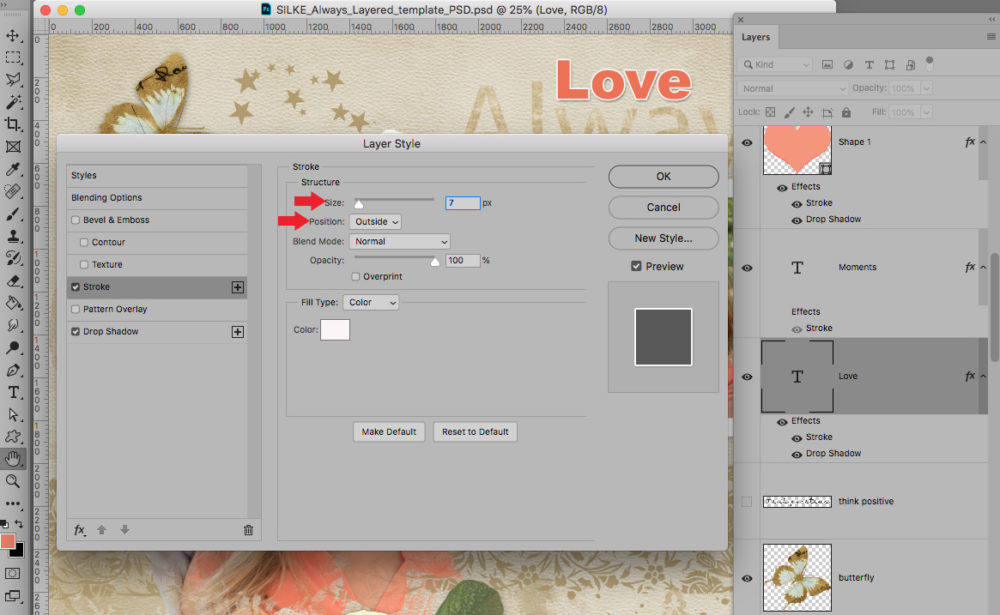
Delete “think positive” and add your own words. I added the word LOVE. The FONT is Arial. You choose the text color.
For the word LOVE add following styles:
- 1-Stroke
- Size 7 – Position Outside – Blend Mode Normal – Opacity 100%
2- Drop Shadow
- Blend Mode Multiply
- Opacity 79% (adjust as necessary)
- Angle 135
- Distance 8
- Spread 0 –
- Size 15.
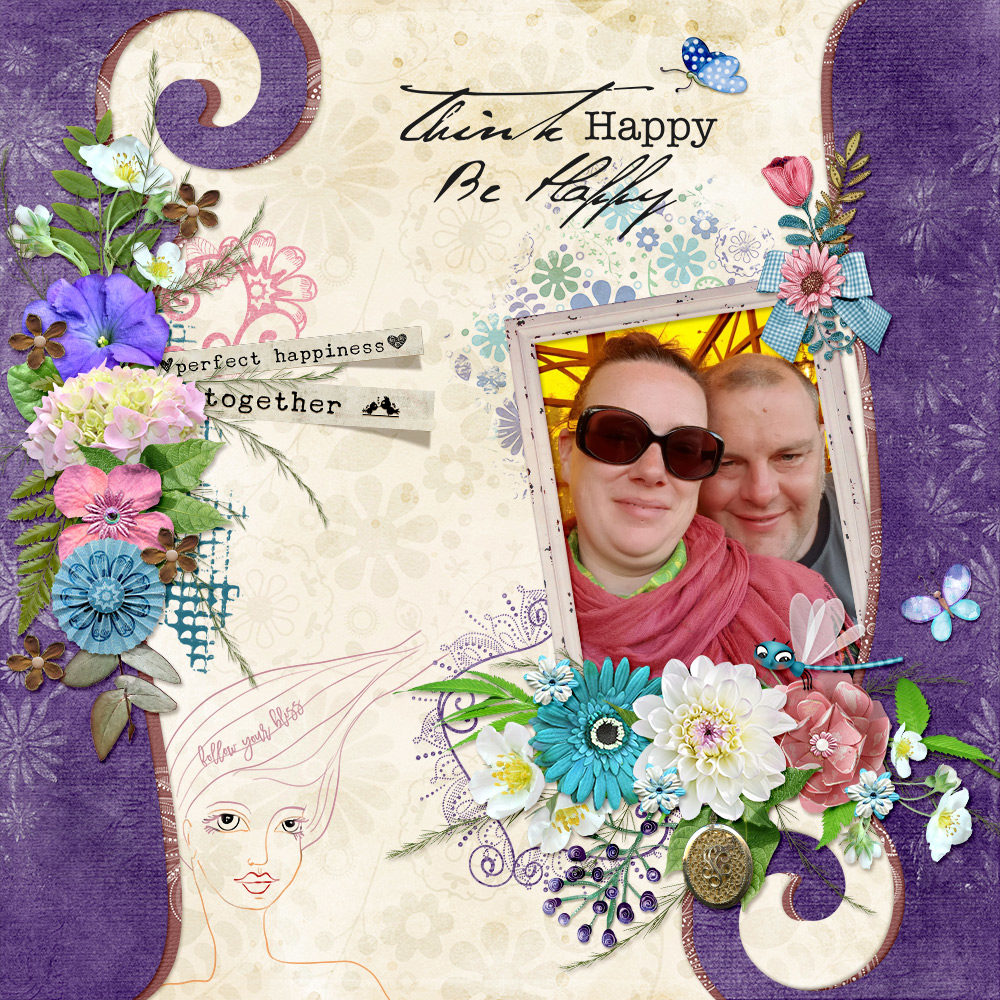
Then I added personal words, using the script font Allura. You can choose any script font. The word Moments was set above the “happy” word strip.
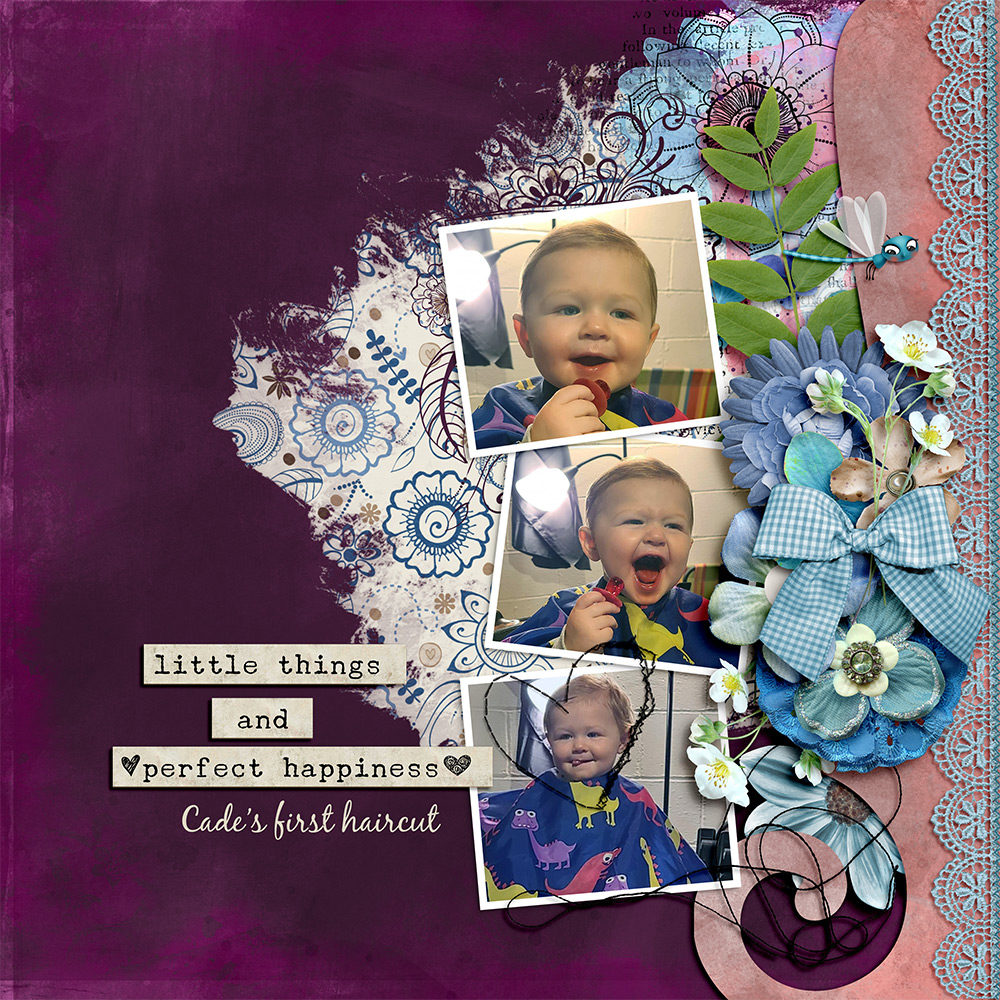
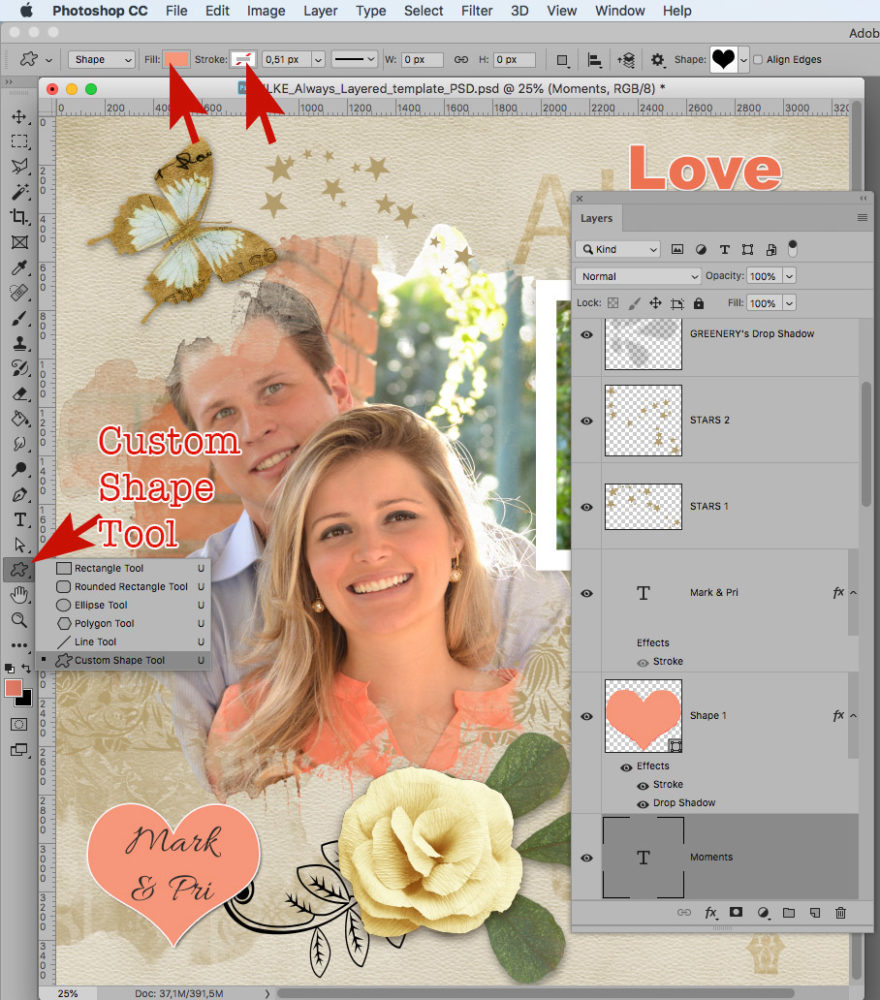
Add a Heart Shape
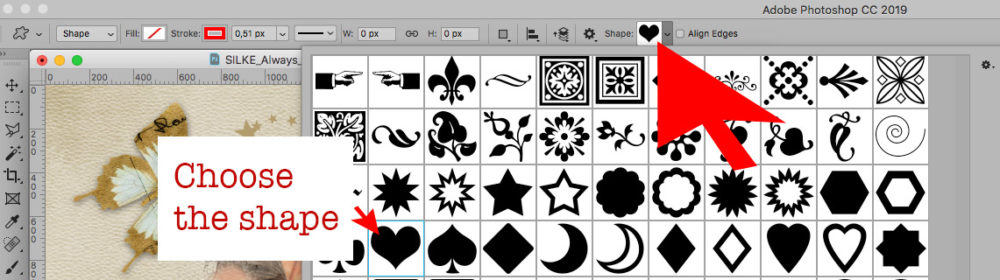
In a new layer, create a shape using the Custom Shape tool. I added a heart. Choose a color. I used the color picker to select a color from my niece’s shirt. I did not add a stroke, set this in the upper menu bar with a red line through the white rectangle:
- Choose the heart from the shape presets.
- Drag and drop the cursor over your image.
- This will create the shape.
- Copy the same layer style from the word LOVE to the heart
(right-click on the heart layer to copy the layer style and then right click on the heart layer and choose paste layer style). - Copy Layer Style from word LOVE:

- Paste Layer Style for the heart shape:

Finally, I added the names to the heart.
Happy creations!
Silke
Thanks you so much!
Thank you Silke
Love your turtorials, so easy to follow. Thank You